Whether you're new to weed cultivation or looking to improve your existing grow, following this complete guide will help you produce large, high-quality yields right at home. With the right supplies, strategies, and attention, cultivating weed indoors can be an extremely rewarding and cost-effective endeavor.
Choosing Cannabis Varieties
The first step in planning your indoor harvest is selecting the right weed strains to produce. The three main types of pot plants each have their own traits.
Sativas
Known for their energizing mental effects, these strains grow tall and slender with narrow leaves. They thrive in tropical tropical climates and have a longer flowering time between 10-12 weeks indoors. Top energizing strains include Sour Diesel, Durban Poison, and Jack Herer.
Indicas
These strains provide relaxing full-body effects and spread short and bushy with wide leaves. Adapted to colder mountain climates, they bloom faster within 8-9 weeks. Popular relaxing varieties include Granddaddy Purple, Northern Lights, and Bubba Kush.
Hybrids
Mixed strains mix traits from both energizing strains and indicas. They offer combined effects and have moderate blooming periods around 9-10 weeks. Popular hybrids are OG Kush, Girl Scout Cookies, and Blue Dream.
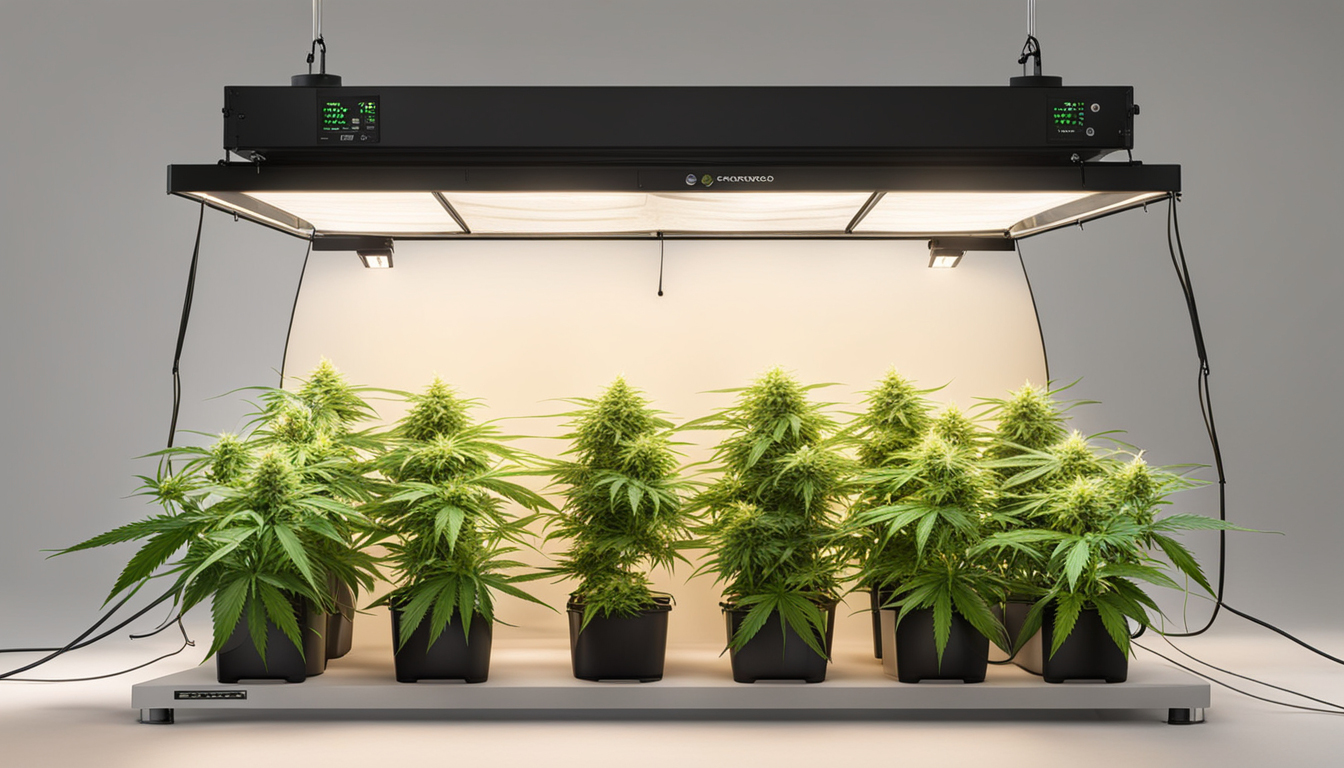
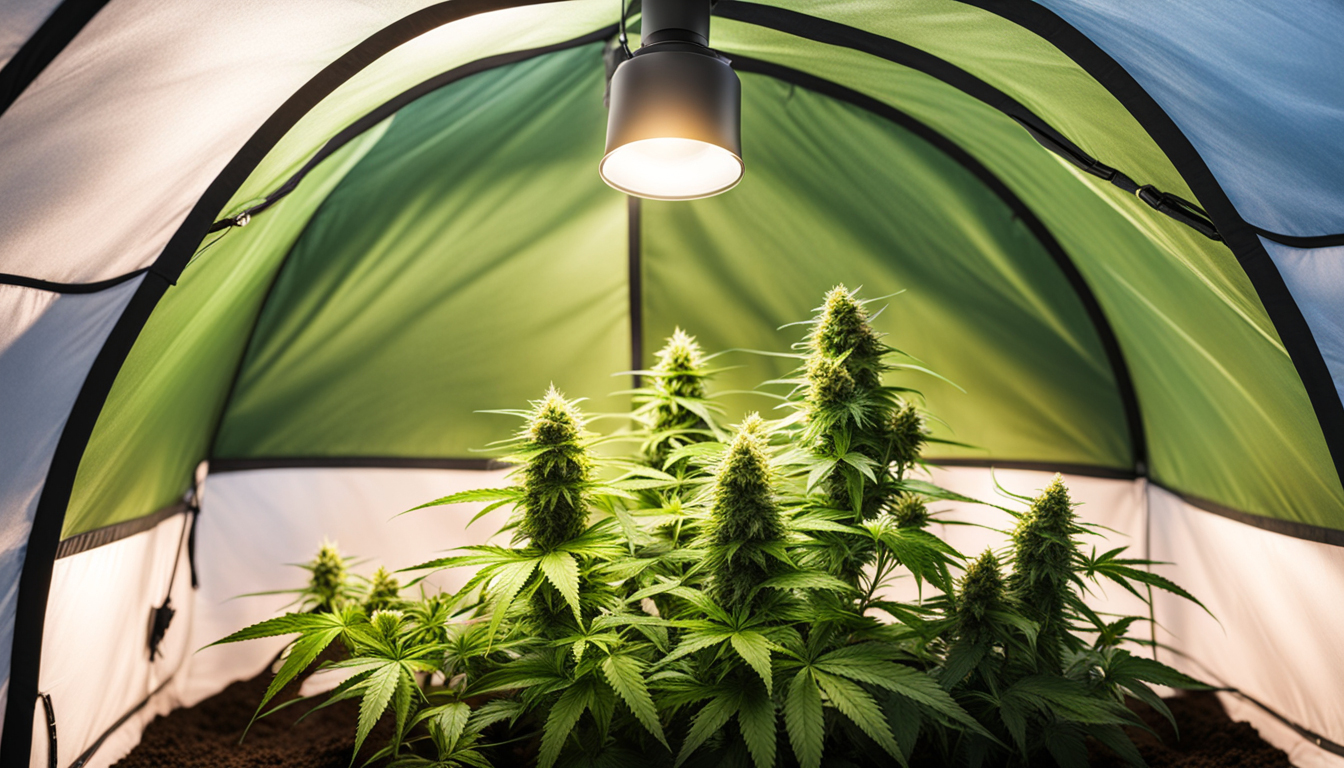
Setting Up Your Grow Space
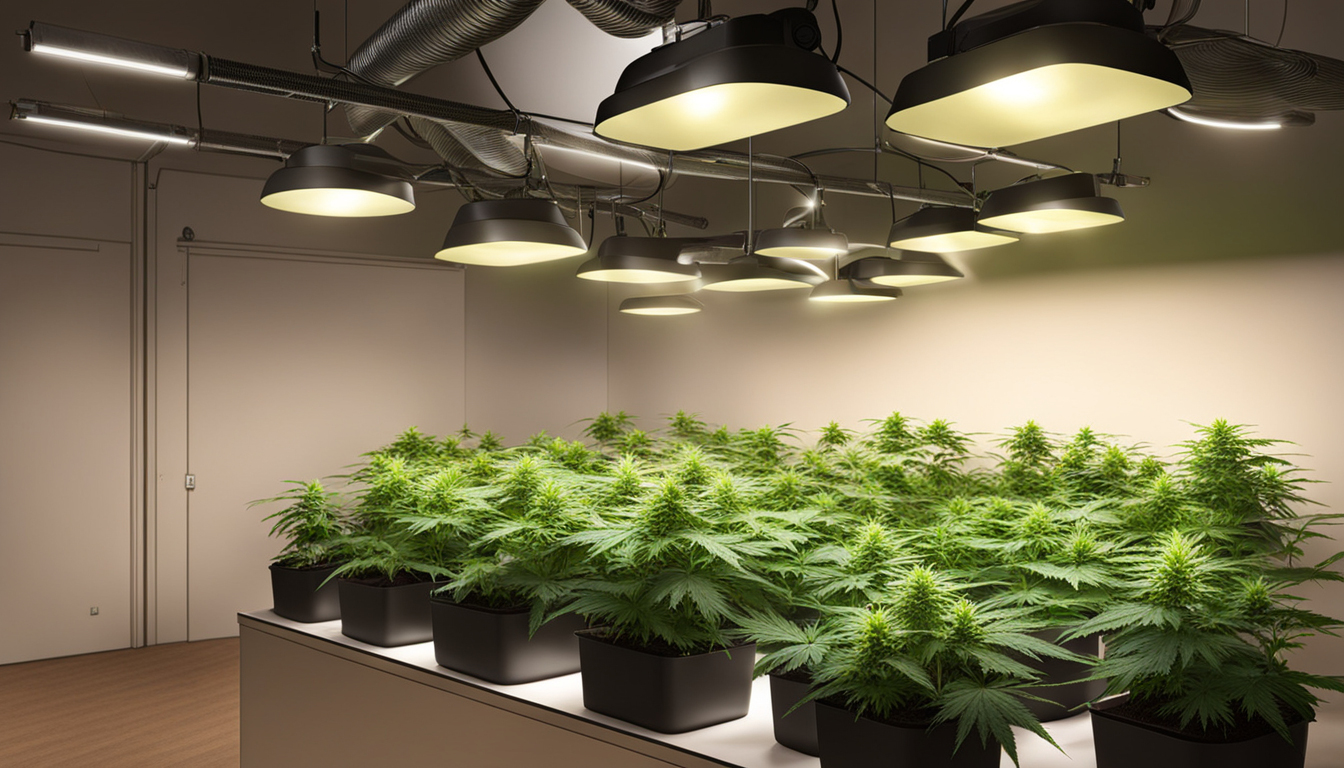
Pot plants need the right controlled environment to thrive. Key factors for indoor cultivations are lighting, airflow, layout, and finding the ideal discreet location.
Location
Choose an available space with easy access to irrigation and electrical outlets. An empty extra bedroom, unused closet, basement corner, or grow tent securely placed in a garage all make great hidden cultivation room spots.
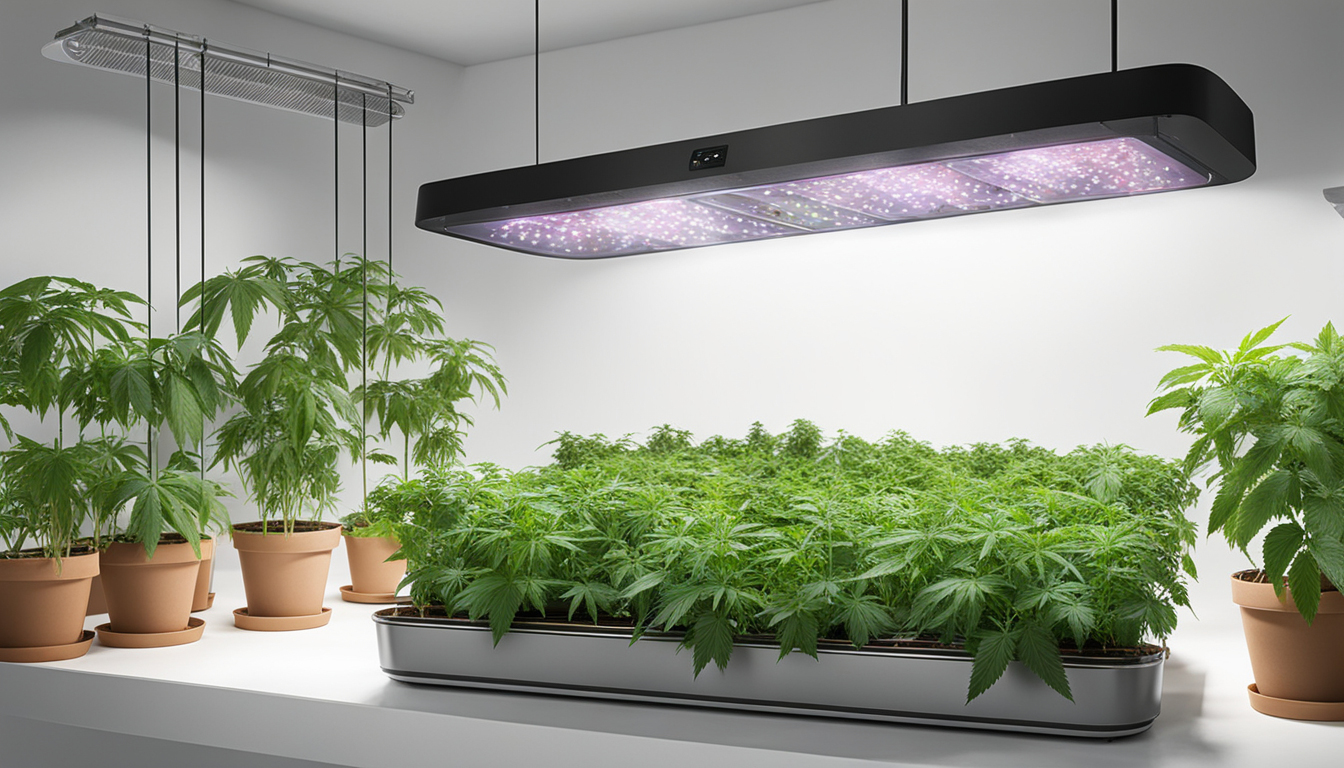
Lighting
Marijuana requires intense light for all growth stages. LEDs are energy-efficient and come in broad spectrum options mimicking natural outdoor light. Cover 15-25 watts per sq. ft for the vegetative stage and 400-600 watts per sq. ft. for flowering.
Airflow
Proper ventilation and exhaust systems maintain ideal temp, moisture, and fresh CO2 levels. Install low-noise 4-6 inch fans or scrubbers to refresh stale air and reduce smells.
Layout
Maximize your space by positioning plants carefully under the lights and leaving room to reach and work around them. Set up separate zones for vegetation, bloom, curing, and cloning.
Cultivation Substrates
Cannabis can be grown in different mediums, each with pros and cons. Pick a proper option for your particular setup and cultivation style.
Soil
The traditional substrate, soil is affordable and easy for beginners. It provides great flavor but requires more watering and nutrients to feed plants. Enrich soil with vermiculite or coir to enhance aeration.
Coconut coir
Made from coir, reusable coco coir retains water but still allows air to the roots. It's cleaner and more predictable than soil. Use coco-specific nutrients to avoid calcium buildup.
Hydroponics
In hydro systems, plant roots grow directly in nutrient water solution. This allows rapid growth but needs close monitoring of water chemistry. Deep water culture and drip systems are popular methods.
Sprouting Seeds
Sprouting prepares your pot seeds to start growing radicles. This readies them for transplanting into their cultivation medium.
Paper Towel Method
Place seeds between moist paper towels and keep them moist. Check after 2-7 days for growing radicles showing sprouting is complete.
Planting directly
Insert seeds right into pre-moistened growing medium 1⁄4 inch deep. Gently water and wait 1-2 weeks until sprouts push through the top.
Cubic rockwool
Soak cubic rockwool starters in balanced water. Insert seeds 1⁄4 inch deep into the cubes. Keep cubes moist until sprouts appear within a week to 2 weeks.
Repotting Seedlings
Once sprouted, pot young plants need to be repotted to prevent overcrowding. Move them into appropriately sized containers.
Ready Containers
Load large pots with growing medium enriched with time-released fertilizer. Allow containers to absorb water for 8-12 hours before repotting.
Gently repotting
Gently separate young roots from sprouting medium using a spade. Place into prepared pot at same depth as before and gently water in.
Vegetative Stage
The vegetative stage encourages foliage and plant form through 18-24 hours of daily lighting intensity. This stage usually lasts 4-8 weeks.
Providing 3/4 to full day of Lighting
Use grow lights on a 24 daily schedule or natural sunlight to trigger nonstop growth. Light intensity influences height and node distance.
Fertilizing
Use vegetative stage fertilizers higher in N. Make sure pH stays around 6.5 for full nutrient absorption. Fertilize 25-50% strength after 14 days and strengthen gradually.
LST and topping
Fimming, low stress grow light guide training, and trellising direct growth shapes for flat canopies. This boosts yields.
Flowering Stage
The blooming stage develops buds as plants reveal their sex under a 12/12 cycle schedule. It lasts 2-3 months depending on variety.
Changing Light Schedule
Change grow lights to 12/12 or move outside for natural 12 hour cycle. This triggers plants to start blooming.
Stop Fertilizing
Leaching removes fertilizer residuals to enhance taste. Feed weakly the first period then just use pH'd water the final 2 weeks.
Flushing
Maintain 12/12 light timing but leach using neutral pH water only. Resume clean watering if buds aren't mature after two weeks.
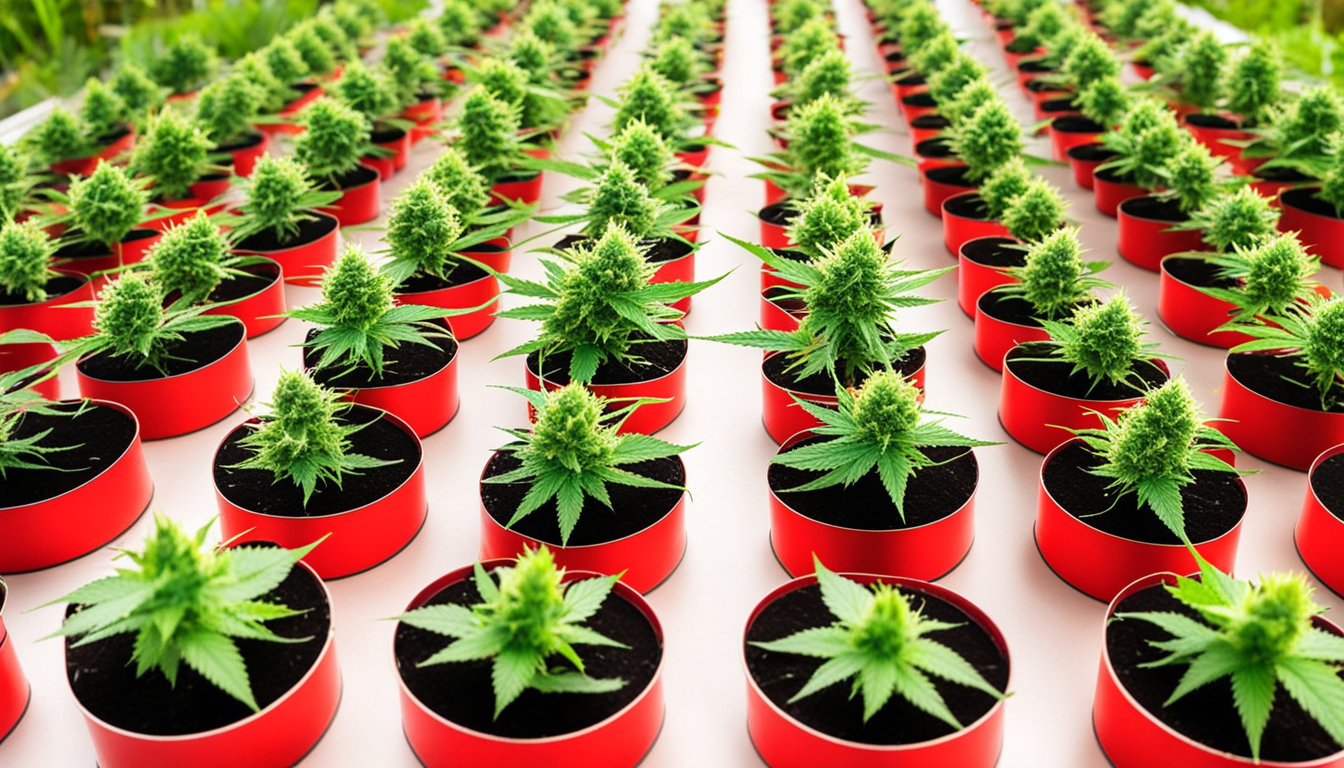
Reaping
Knowing when pot is fully ripe delivers maximum cannabinoid content and aroma. Cut down plants at peak ripeness.
Signs of readiness
Look for fading pistils, swelling calyxes, and 10-15% amber trichomes. Inspect buds across the plant as they won't all mature evenly.
Cutting Plants
Use sterilized, razor-sharp trimming scissors to carefully slice each plant at the base. Keep several inches of stem attached.
Curing
Hang whole plants or colas inverted in a dark room with moderate temp and humidity around 45-65% for 7-14 days.
Aging
Aging continues drying while improving the buds like aged spirits. This process smooths bitterness and intensifies cannabinoid contents.
Curing containers
Trim dried buds from branches and store into glass jars, filling about 75% capacity. Use a sensor to measure jar humidity.
Opening jars daily
Unseal jars for a few hours each day to gradually reduce humidity. Remoisten buds if RH goes under 55%.
Final Cure
After 14-21 days when moisture levels off around 55-65%, perform a final manicure and keep forever in sealed jars.
Common Problems and Solutions
Even seasoned cultivators run into different cannabis plant problems. Identify problems soon and fix them correctly to maintain a healthy garden.
Nutrient Deficiencies
Chlorosis often signify inadequate nitrogen. Anthocyanins and leaves show phosphorus deficiency. Check pH and increase fertilizers slowly.
Bugs
Thrips, aphids, fungus gnats, mites, and root aphids are common marijuana pests. Use organic sprays, predator bugs, and yellow traps for natural control.
Mold
High humidity encourages powdery mildew and bud rot. Increase circulation and venting while reducing RH under 50% during bloom.
Conclusion
With this complete indoor cannabis growing guide, you now have the info to cultivate bountiful potent buds for personal harvests. Apply these techniques and methods during the seed starting, vegetative, and flowering stages. Invest in good gear and closely monitor your plants. In time, you'll be compensated with sticky aromatic buds you grew yourself under the loving care of your green thumbs. Good luck cultivating!